|
||||
|
Re: My touch pro mod - L.E.Ds
i think exiled has pictures of the keyboard led's exposed in this thread somewhere, we could probably just color them with sharpies too..........
__________________
For streaming audio check out subsonic - GhettoBSD APPROVED!
Make sure you donate to those who spend countless hours improving your PPC/android experience! |
|
||||
|
Re: My touch pro mod - L.E.Ds
this one? looks a little different to me or maybe is the magnification?
https://www.alliedelec.com/Search/Pr...=598-8010-107F |
|
||||
|
Re: My touch pro mod - L.E.Ds
Quote:
iv taken apart over a dozen TPs and never had any luck lol
__________________
|
|
||||
|
Re: My touch pro mod - L.E.Ds
Quote:
Quote:
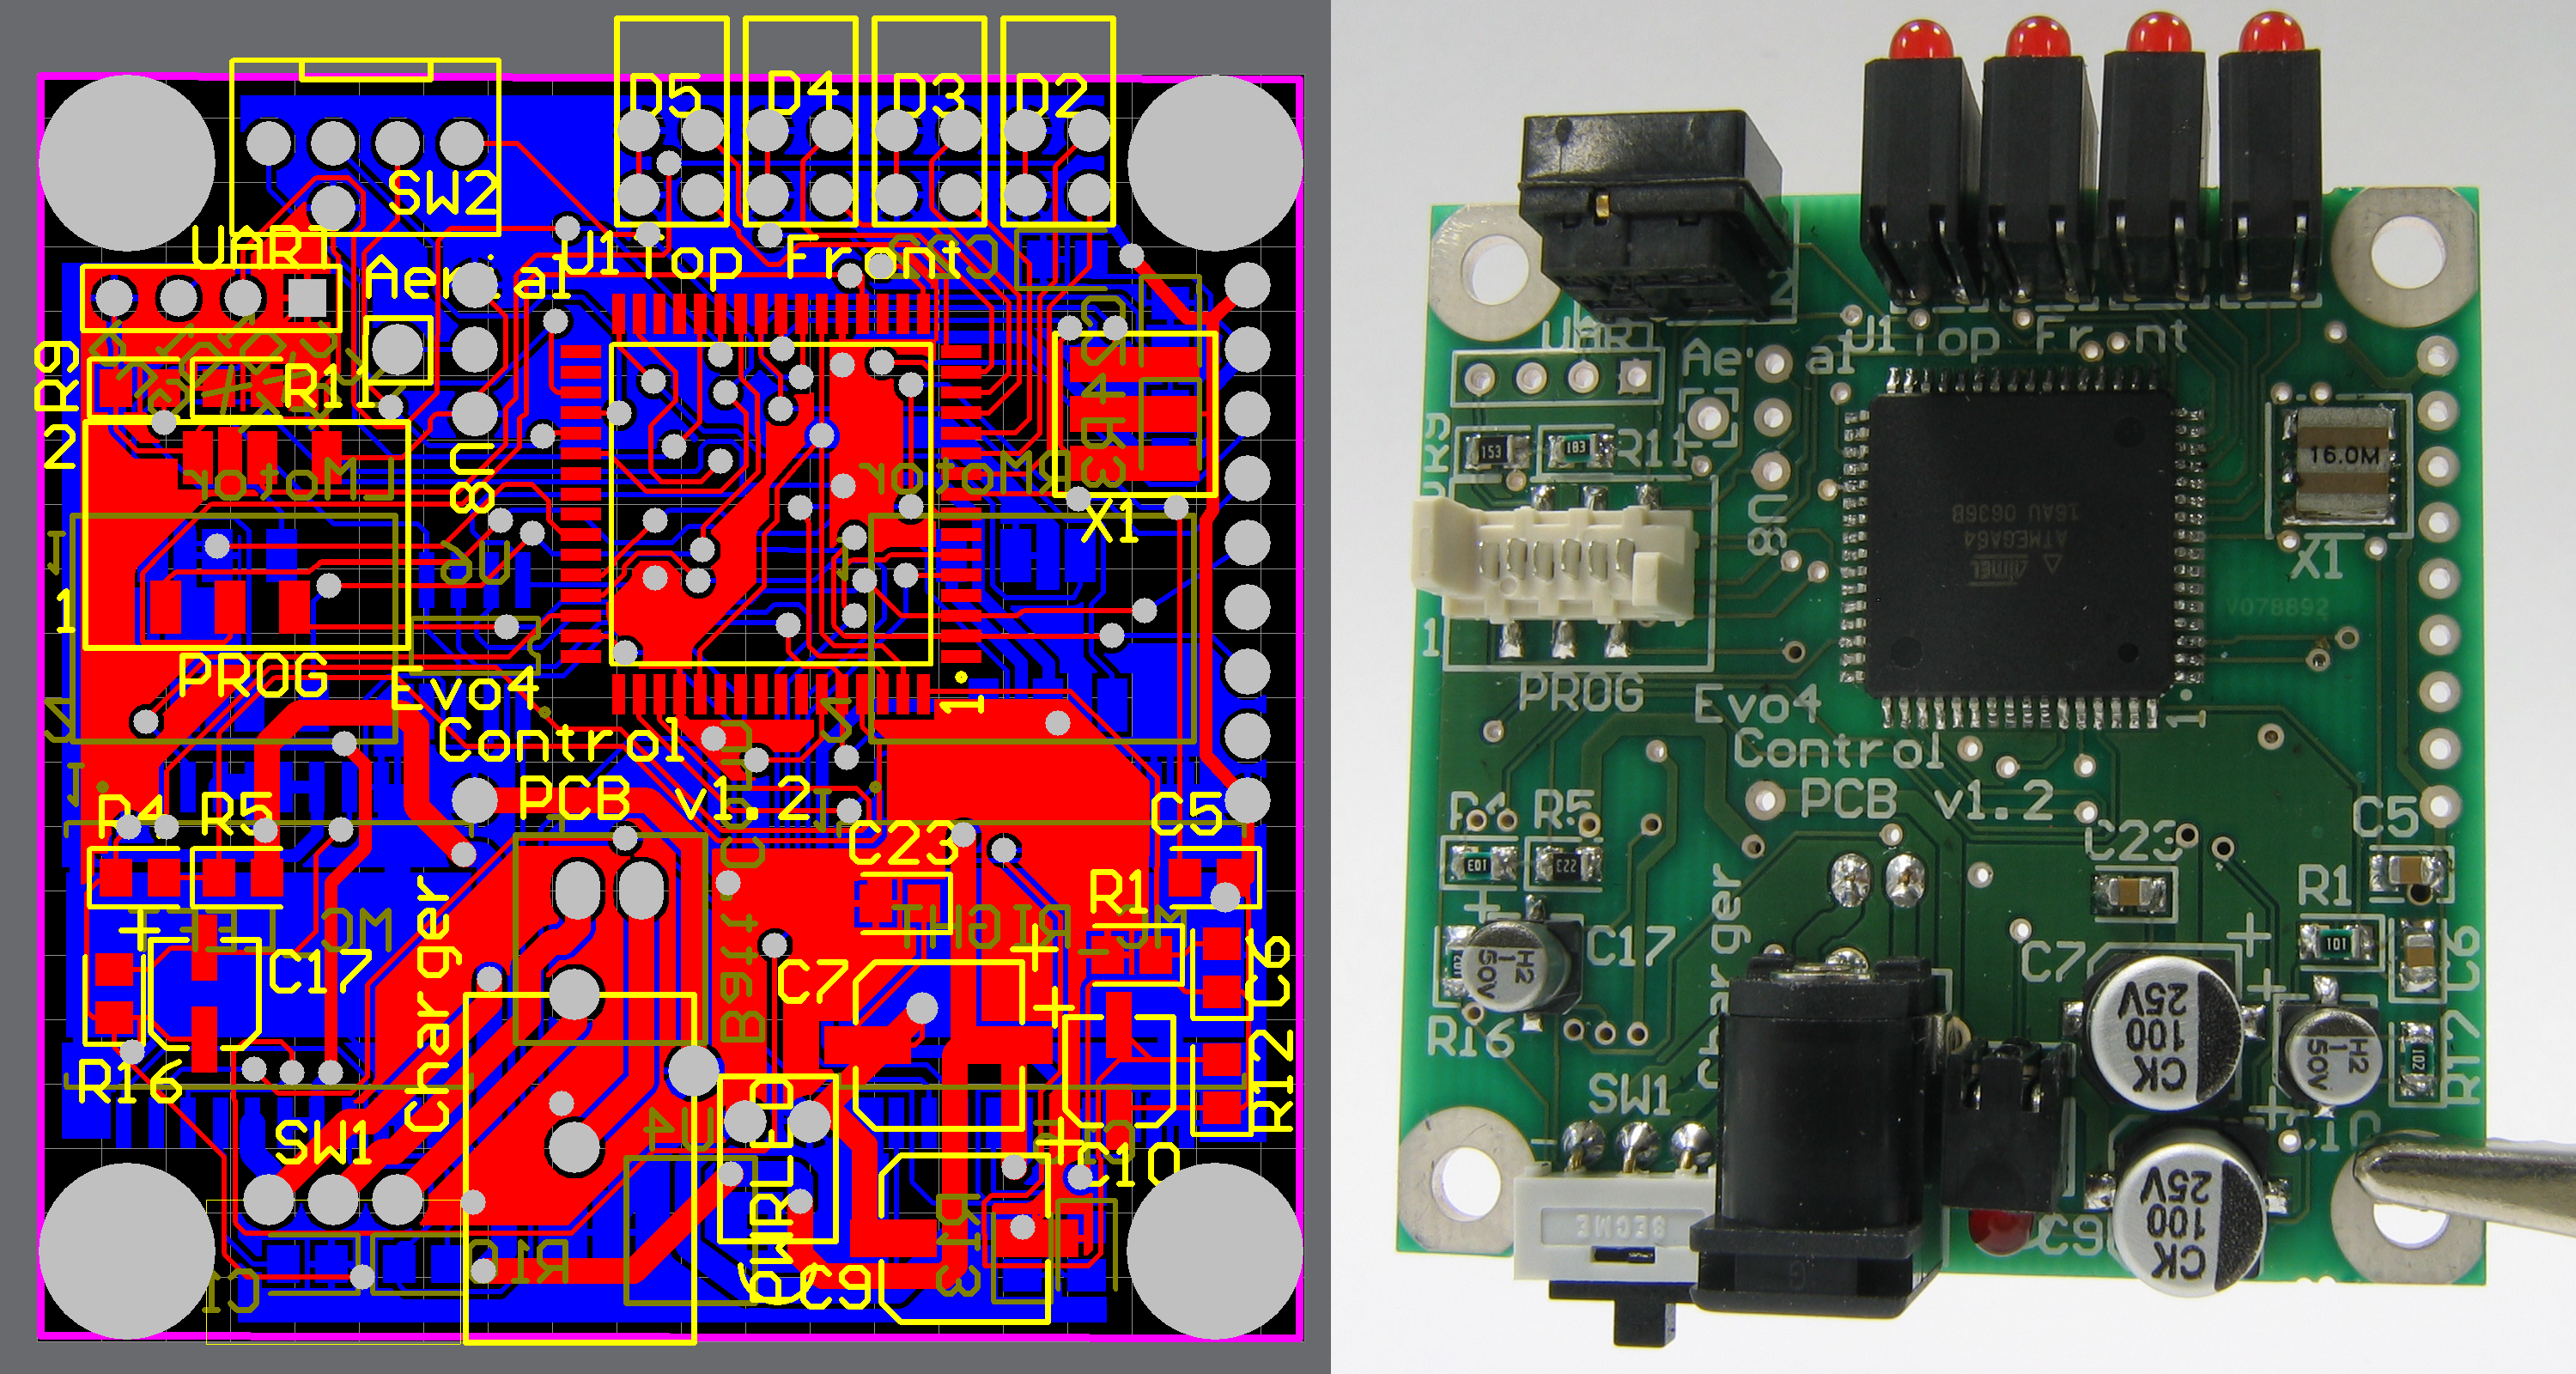
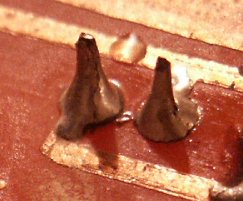
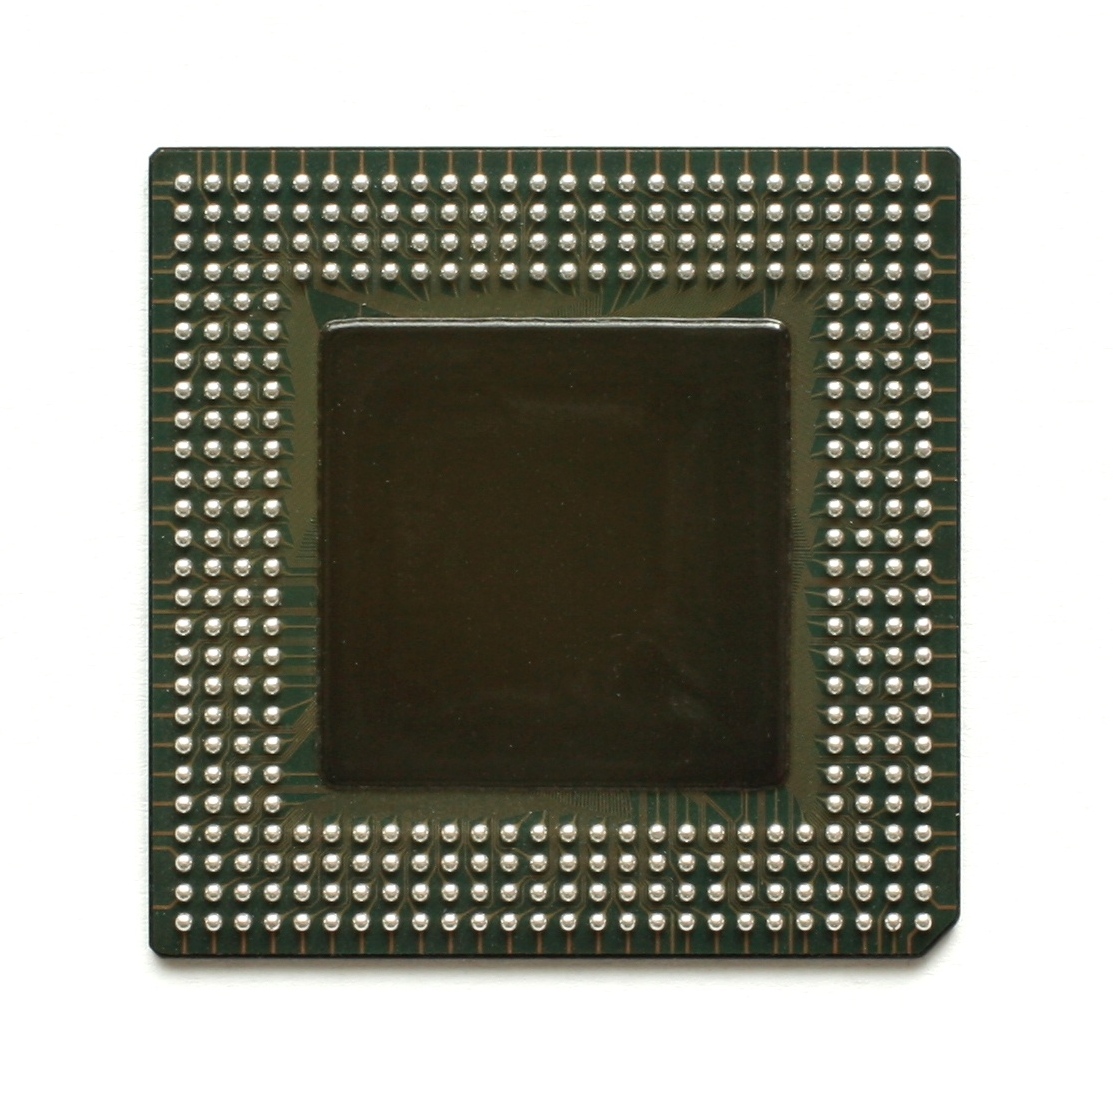
Second... as far as soldering goes... It is easy, and EASY TO GET GOOD, especially with some practice!! However, when MOST people think of soldering, including what I have learned in my electrical engineering class... is something like this: SORRY ABOUT IMAGE SIZE, IF AN ADMIN KNOWS HOW TO RESIZE IT, PLEASE DO Design on computer >> finished board w/ components soldered -  Not too good at soldering - [imghttp://upload.wikimedia.org/wikipedia/commons/9/92/Vacuum_plunge.jpg[/img] Here is the size of most typical soldering irons:  And they melt solder, usually wound around like a spool or like this:  A printed circuit board (PCB) is designed for one or more specific purposes, with conductive (usually copper) pathways and holes for connecting certain electronic components:  Here is the top with the components and the bottom with the DIY soldering -  Typical electronic components Duel in-line pins (usually programmed read only memory, programmed using binary) AKA microcontrollers (like microprocessors but much more simple) Resistors, Transducers, Switchs, Capacitors, Diodes including Light Emmiting Diodes (LEDs), etc- Example of bad soldering-  Example of fairly good soldering-  (You see the tip at the top of the solder is where the pins on the end of the component were put through the circuit and then cut after soldered.) !!!NOTE!!!! Everything above with regards to soldering is for DIY type soldering using through-hold technology... This kind of soldering takes skill to do well and quickly, but the soldering in the phone I'm about to explain... !!!! All of the above refers to circuit boards using "trough-hole technology"... while it provides more strength, is easier to test, and still used for MANY circuits especially with the DIY circuit board maker... However the newer "surface-mount technology" (SMT) used on boards, allowing them to be MUCH smaller... components in surface mounting are much smaller with end taps to solder directly to small 'solder pads' on the board, rather than wire-ended components. The surface mount devices (SMDs) are usually 1/4 to 1/10 the size of wire-ended compononents. Due to the SMDs very small size and thus smaller, SURFACE, soldering of the SMDs to circuit boards is almost always automated, using reflow soldering in order to solder the components (although a similar automated soldering process is used for mass production of through-hole circuits) reflow oven: [img]http://upload.wikimedia.org/wikipedia/commons/9/91/Reflow_oven.jpg[img] SMD(like the LEDs in our phones) are almost always soldered using machine placement and molten soldering metals. When making prototypes, experimenting or modifying circuits using SMD's, there are some who are able to solder devices this small.... I would consider myself really good at soldering, but that is using a typical soldering iron shown above, and even some that I consider experts at soldering may not be able to work on Surface Mount boards. If surface mounting is soldered by person, it is usually done using a microscope and specialized soldering iron (that you don't normally find in the hardware store), usually electrical soldering irons are not recommended, rather infared/elcetromagnetic or hot gass, not to mention extremely steady hands!):  Some surface mount parts that use ball grid arrays, BGA, cannot even be soldered my hand no matter how good you are, as the solder is all located undeneath the surface mount component:  (all the balls must line up with individual contacts on the board exactly, and then be heated to make the connection.... basically screwed if one of these gets too hot, moves, etc..) (all the balls must line up with individual contacts on the board exactly, and then be heated to make the connection.... basically screwed if one of these gets too hot, moves, etc..)Anyways.... taking apart the phone is not too hard, so marker seems alright... but if you thinkin about replacing them LEDs... unless you already knew about surface mount soldering.... you might not wanna risk it... there are chips and other parts soldered to the back of the board that the LEDs are on, and unless you control the heat right you could end up with a cold connection on the back or melt your board....
__________________
"dear 8 lb 6 oz, new born, infant jesus...."
|
 |
|
«
Previous Thread
|
Next Thread
»
|
|
All times are GMT -4. The time now is 02:43 PM.


 Linear Mode


